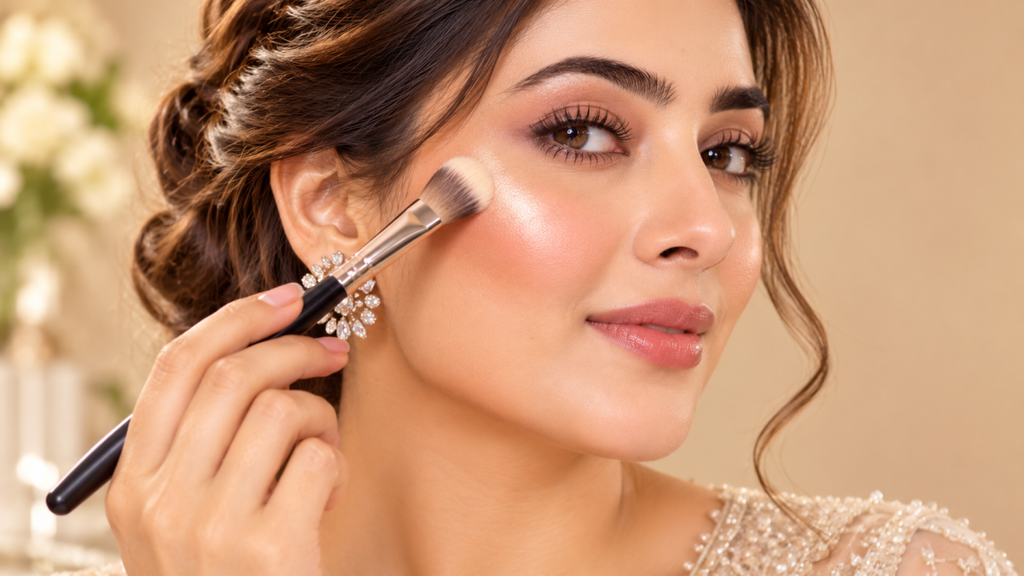
Want beautifully defined cheekbones without spending hours in front of the mirror? Learning how to contour cheekbones is one of the easiest ways to enhance your natural facial features and achieve a lifted sculpted makeup look.
Cheekbone contouring may seem complicated at first especially when you see professional makeup artists using multiple brushes, creams and powders. However you don’t need expensive products or advanced makeup skills to master this technique.
With the right contour shade, proper placement and a few simple blending tricks you can create flattering definition while keeping your makeup natural.
In this beginner-friendly guide, you’ll discover five easy steps to perfect cheekbone contouring how to choose the right products common mistakes to avoid and helpful techniques for different face shapes.
What Is Cheekbone Contouring?
Cheekbone contouring is a makeup technique that uses darker shades to imitate the natural shadows beneath your cheekbones. This creates the appearance of additional depth and definition.
Unlike foundation which helps create an even-looking complexion contour products are designed to add dimension to specific facial features.
- When applied correctly cheek contour canMake your cheekbones appear more defined.
- Create the illusion of a lifted facial appearance.
- Add dimension to a round or fuller-looking face.
- Complement your natural bone structure.
- Enhance your makeup for everyday wear weddings and special occasions.
The secret to beautiful contouring is not using more makeup. Instead, it is knowing where to place the product and how to blend it seamlessly.
Quick Tip: A natural cheek contour should resemble a soft shadow beneath your cheekbone rather than a noticeable dark stripe.
What Do You Need for Perfect Cheekbone Contouring?
Before starting your cheekbone contour tutorial gather a few essential makeup products.
1. Foundation or Skin Tint
Choose a foundation that matches your skin tone to create a smooth even-looking base. A lightweight foundation or skin tint also works beautifully for natural makeup.
2. Contour Powder or Cream
Select a contour product that is approximately one to three shades deeper than your complexion depending on the product’s pigmentation and your desired intensity.
For natural-looking shadows neutral or slightly cool-toned contour shades are often effective.
3. Angled Contour Brush
An angled makeup brush helps apply contour precisely beneath your cheekbones. Its shape makes it easier to follow the natural contours of your face.
4. Makeup Sponge or Blending Brush
A damp makeup sponge works well with cream products while a soft fluffy brush is ideal for blending powder formulas.
5. Blush
Blush adds color and freshness to your cheeks. Choose peach, pink, rose or mauve shades that complement your complexion.
6. Highlighter
A subtle highlighter creates contrast between the shadow beneath your cheekbones and the brighter areas above them.
7. Setting Powder or Setting Spray
Finish your look with a suitable setting product to help your makeup stay in place.
Beginner Tip: You don’t need every product on this list. A contour powder, suitable brush and your regular foundation are enough to begin practicing.
How to Contour Cheekbones in 5 Easy Steps
Follow this simple step-by-step cheekbone contouring tutorial to achieve a naturally sculpted appearance.
Step 1: Prepare Your Skin for Contouring
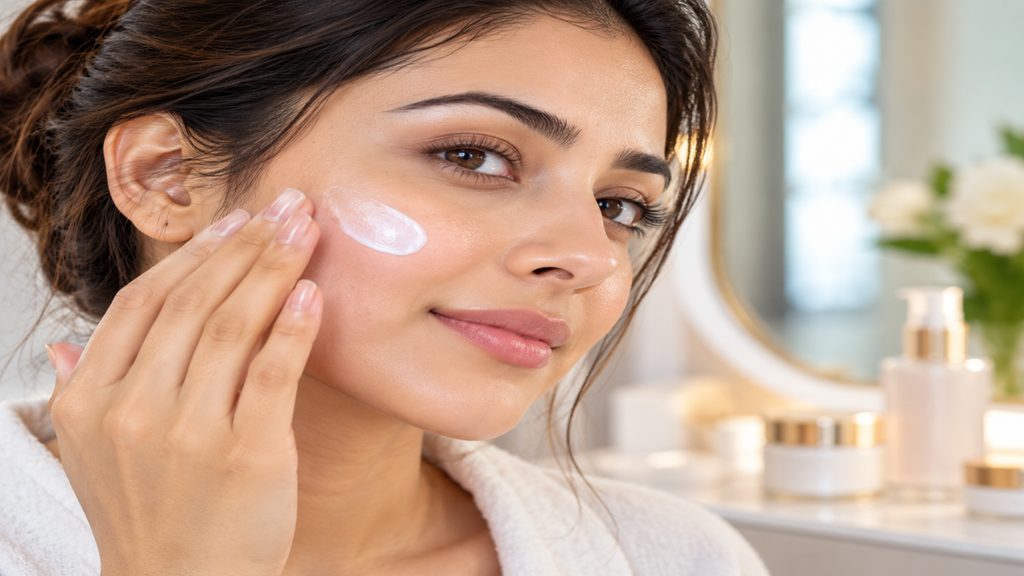
Beautiful cheekbone contouring starts with properly prepared skin.
First wash your face using a gentle cleanser to remove excess oil, dirt and leftover makeup.
Apply a moisturizer that suits your skin type. This helps create a more comfortable surface for your makeup.
If you’re applying makeup during the day use broad-spectrum sunscreen as part of your skincare routine.
Next apply a thin layer of foundation or skin tint to even out your complexion. Blend it thoroughly around your cheeks, nose, jawline and forehead.
If you plan to use cream contour apply it before setting your foundation with powder. For powder contour lightly set your base first if needed.
Pro Tip: Avoid applying thick layers of foundation beneath your contour. Lightweight layers are generally easier to blend and help prevent a heavy-looking finish.
Step 2: Find Your Natural Cheekbone Placement
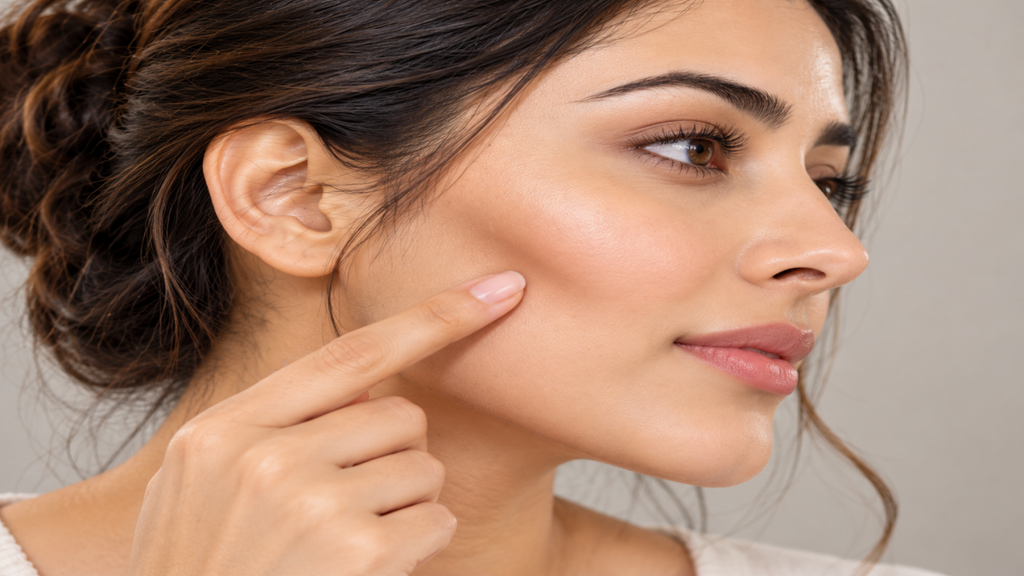
One of the most important parts of learning how to contour your cheeks is locating the correct placement.
Start by looking straight into a mirror.
Use your fingers to feel the prominent cheekbone that runs from the upper cheek toward your ear. You can also gently draw your cheeks inward to help identify the hollow beneath the bone.
This natural hollow provides a useful starting point for your contour.
Imagine a diagonal line running from the upper part of your ear toward the outer portion of your cheek.
Your contour should generally sit directly beneath the cheekbone with most of the color concentrated toward the outer half of your face.
For a lifted effect avoid placing the contour too far down your cheeks.
Pro Tip: Rather than extending the contour toward your mouth stop around the outer half of your cheek and gradually diffuse the color.
Step 3: Apply Contour Under Your Cheekbones
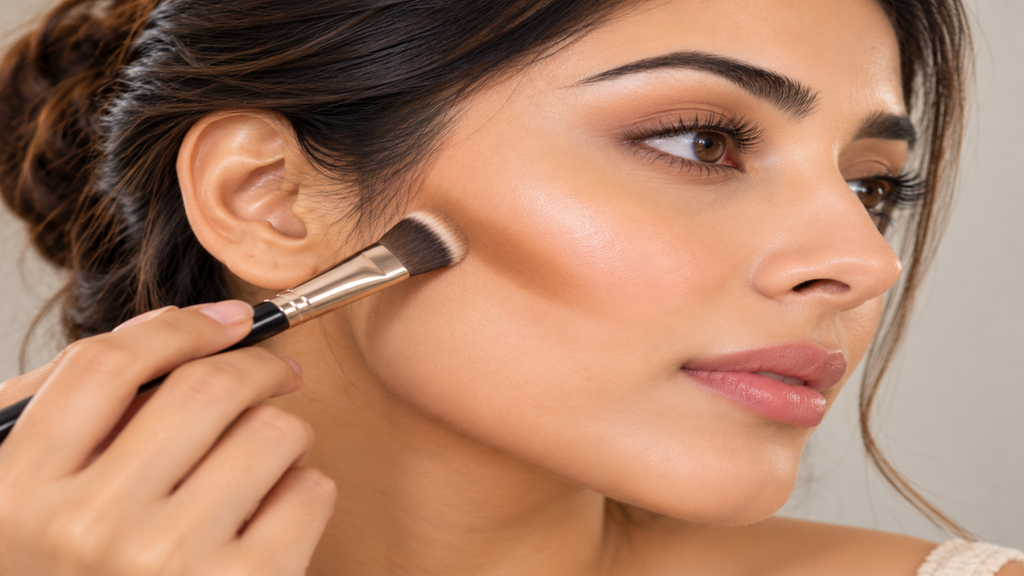
Now it’s time to add definition using your favorite contour product.
Take a small amount of cream or powder contour and begin applying it beneath your cheekbone starting close to your ear.
Work gently inward using short strokes.
Keep the application light and build the color gradually.
If you’re using a contour stick apply a small amount directly to the outer cheek or pick up the product with a brush for better control.
For powder contour tap excess product off your brush before applying.
Concentrate the deepest shade near the hairline and gradually soften it toward the center of your cheek.
Important tip: Avoid drawing an extremely dark straight line across your entire cheek. This can make your makeup appear harsh instead of naturally sculpted.
For everyday makeup a subtle application is often enough to enhance your facial features
Step 4: Blend Your Contour and Add Blush
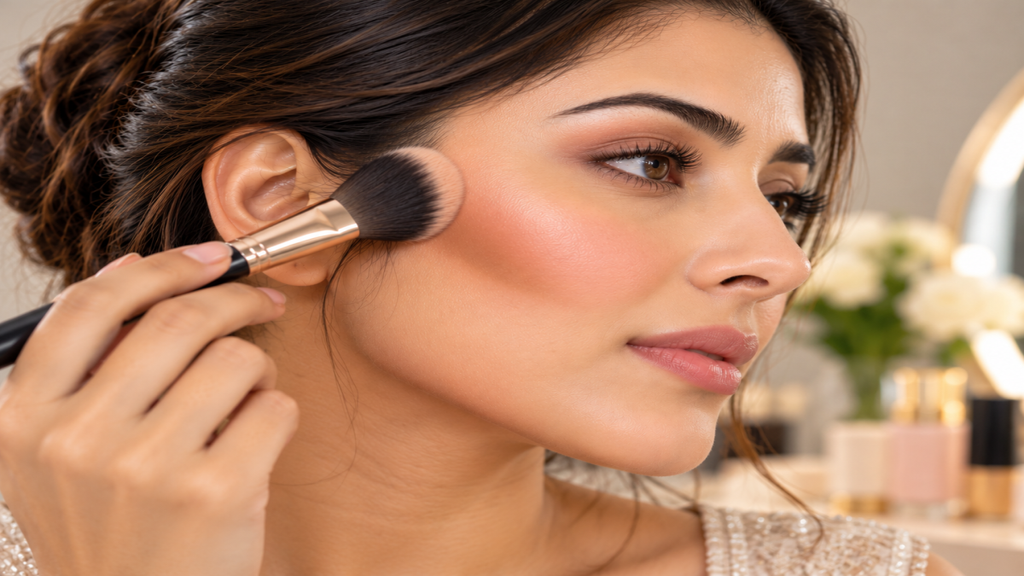
Proper blending is what transforms a visible line of makeup into a flattering natural-looking shadow.
Use a clean angled brush, fluffy blending brush or slightly damp makeup sponge.
Gently blend the contour using short circular or tapping motions.
Keep most of the blending directed upward and outward toward your temples.
This technique helps preserve the definition beneath your cheekbones without spreading the darker product too far down your face.
Continue blending until there are no obvious harsh edges.
Next apply a small amount of blush to the upper cheek area.
For a lifted appearance blend the blush slightly upward toward your temples allowing it to soften the upper edge of the contour.
Choose a blush shade that complements your complexion and the overall look.
Pro Tip: If your contour becomes too dark use a clean makeup sponge with a tiny amount of foundation to soften the edges.
Step 5: Highlight Your Cheekbones and Finish Your Makeup
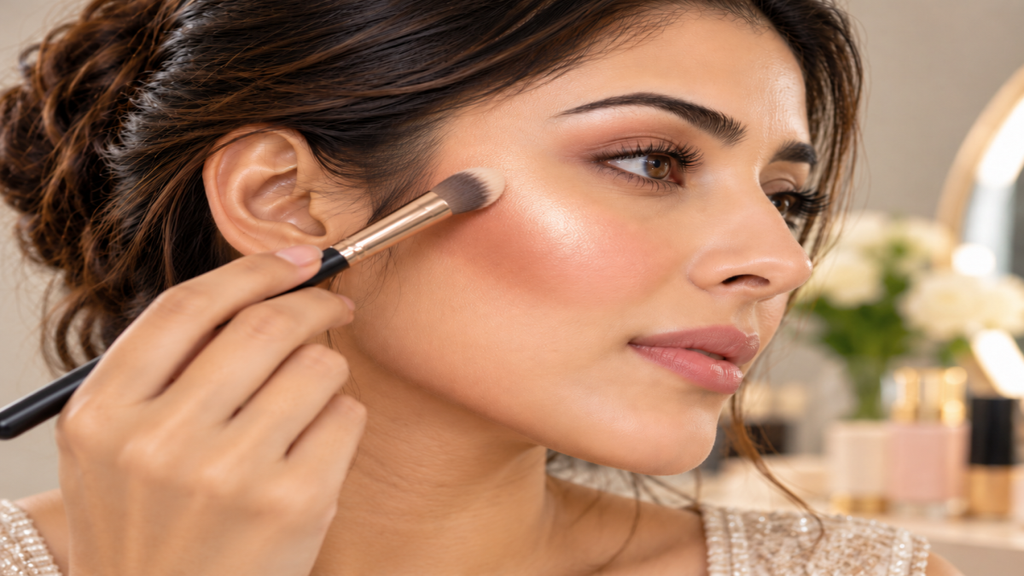
The final step is adding light to complement the shadow created by your contour.
Choose a highlighter that suits your skin tone and desired finish.
Apply a small amount to the highest points of your cheekbones above your blush.
You can also add a subtle touch to the bridge of your nose or your Cupid’s bow if you want additional dimension.
Avoid placing an excessive amount of shimmer directly over textured areas if you prefer a smoother-looking finish.
Once you’re happy with the result lightly set your makeup with powder or setting spray according to your skin type.
Finally check your contour in natural daylight.
Both cheeks should look balanced and the shading should blend softly into your foundation.
Final Result: Your cheekbones should appear more defined and lifted with no obvious dark lines or patches.
How to Choose the Right Contour Shade for Your Skin Tone
Choosing the right contour shade makes a significant difference in your final makeup look.
A product that is too dark may look muddy while one that is too warm may resemble bronzer instead of a natural shadow.
Here are some useful starting points.
Fair Skin Tones
Try light taupe soft beige-brown or neutral-cool contour shades.
Avoid overly dark or orange-toned products when aiming for natural definition.
Medium Skin Tones
Consider medium neutral browns or balanced taupe-brown shades.
A buildable formula will help you control the intensity.
Olive and Tan Skin Tones
Look for medium-to-deep brown contour shades with neutral undertones that complement your natural complexion.
Avoid overly ashy formulas that leave a gray cast.
Deep Skin Tones
Try rich brown deep neutral or subtly cool-toned contour shades that are visibly deeper than your skin.
The best choice depends on your undertone depth and the product’s pigmentation.
Makeup Tip: Test contour shades along your lower cheek or jaw area rather than relying only on the color shown in the packaging.
Cream vs. Powder Contour Which Is Better?
Both cream and powder contour can create beautiful cheekbone definition. Your ideal choice depends on your skin type experience and preferred makeup finish.
Cream Contour
Cream contour typically creates a soft skin-like finish.
It works particularly well for people who prefer lightweight dewy makeup or want to apply contour before powder.
Cream formulas can be blended with a brush fingertips or damp makeup sponge.
Powder Contour
Powder contour offers easy gradual application and works well over a lightly set makeup base.
It’s often a convenient choice for beginners and those who prefer a matte finish.
People with oily skin may find powder contour especially practical although either formula can work with suitable preparation.
Which One Should Beginners Choose?
If you prefer applying makeup with brushes a soft powder contour can be a simple starting point.
If you enjoy creamy natural-looking makeup try a blend able contour stick or cream palette.
The most important factor is choosing a formula you feel comfortable applying and blending.
Cheekbone Contouring Tips for Different Face Shapes
Your natural face shape can help guide your contour placement. However, these recommendations are flexible and you should adapt them to your own bone structure and preferred style.
Round Face
For a round face concentrate contour on the outer cheeks and beneath the cheekbones.
Blend upward toward the temples to create the appearance of additional definition.
Avoid applying a large amount of dark product to the center of your cheeks.
Oval Face
Oval faces often require only subtle contouring.
Apply a small amount beneath your cheekbones concentrating on the outer portion of your face.
Blend gently to preserve your natural facial proportions.
Square Face
If you want to soften the appearance of a strong jawline apply a light contour beneath your cheekbones.
You can also use a small amount around the outer forehead or jaw angles.
Keep the shading diffused rather than drawing sharp lines.
Heart-Shaped Face
For a heart-shaped face lightly contour beneath the cheekbones and blend toward your temples.
You may also apply a little contour along the outer forehead if you want to balance the appearance of a wider upper face.
Long or Oblong Face
Focus on soft cheekbone definition rather than creating an extremely steep diagonal contour.
If desired lightly shade around the forehead hairline and beneath the chin for a more balanced makeup effect.
Remember: Your bone structure matters more than following a strict face-shape diagram. Experiment with placement to find what looks best on you.
Contour vs. Bronzer What’s the Difference?
Contour and bronzer may look similar but they serve different makeup purposes.
Contour is used to imitate shadows visually shaping features such as the cheekbones, jawline and nose.
Bronzer is typically used to add warmth and create a sun-kissed appearance.
Contour shades are often neutral or slightly cool while bronzers generally have warmer undertones.
For a complete makeup look you can apply contour beneath your cheekbones and blend a little bronzer around the outer forehead or upper cheeks.
Just remember that some matte bronzers can also work as contour products when their shades suit your complexion.
7 Common Cheekbone Contouring Mistakes to Avoid
Even a simple cheekbone contour can look uneven when a few basic techniques are overlooked.
1. Choosing a Contour Shade That’s Too Dark
Using a shade dramatically deeper than your complexion can create harsh-looking shadows.
Fix: Start with a shade that provides subtle depth then build the intensity gradually.
2. Applying Contour Too Low
Contouring too far beneath your cheekbones can make the lower cheeks appear heavier.
Fix: Keep the contour close to the lower edge of your cheekbone and blend upward for a lifted finish.
3. Using Too Much Product
Excess contour can be difficult to blend and may create patchiness.
Fix: Apply small amounts and gradually increase coverage only where necessary.
4. Forgetting to Blend
Visible contour lines can make your makeup look unfinished.
Fix: Use a clean brush or sponge to soften the edges until the color appears seamless.
5. Using the Wrong Brush
A very large or overly dense brush can spread contour across areas you didn’t intend to shade.
Fix: Use a smaller angled brush for placement and a softer brush for blending.
6. Mixing Products in the Wrong Order
Applying cream contour directly over heavy powder can sometimes cause uneven texture.
Fix: Apply cream products before setting powder then add powder products if needed.
7. Ignoring Natural Lighting
Makeup may look perfectly blended indoors but appear too dark in daylight.
Fix: Check your cheekbone contour near a window before leaving home.
Expert-Style Tips for Naturally Sculpted Cheekbones
Want your contour to look even more polished? These simple techniques can improve your makeup application.
Use less product than you think you need. Building thin layers makes it easier to maintain a natural finish.
Keep your brushes clean. Dirty brushes can mix colors and make your makeup look uneven.
Blend upward for a lifting effect. Focus on diffusing the edges without pulling too much contour toward the lower cheek.
Match textures carefully. Cream blush pairs well with cream contour while powder blush can work smoothly over powder products.
Use matte products for shadows. Matte contour generally imitates natural facial shadows more convincingly than sparkly products.
Apply highlighter strategically. A small amount on the upper cheekbone is usually enough to create dimension.
Practice on both sides of your face. Your facial features may not be perfectly symmetrical so adjust the placement rather than forcing both sides into identical shapes.
These small improvements can make your cheekbone contouring routine quicker, easier and more consistent.
Frequently Asked Questions About Cheekbone Contouring
1. Where exactly should I apply cheekbone contour?
Apply contour directly beneath your cheekbone beginning near the upper ear and moving inward along the natural hollow of your cheek. Keep most of the product on the outer half and blend the edges carefully.
2. Should cheekbone contour go above or below the cheekbone?
Contour usually goes just below the cheekbone to create the appearance of a natural shadow. Blush and highlighter can be placed higher to add color and dimension.
3. How do beginners contour their cheekbones?
Beginners can start with a lightweight foundation a small amount of powder contour and an angled brush. Apply the product beneath the outer cheekbones and blend until the edges become soft and natural.
4. Is cream or powder contour better for beginners?
Both work well. Powder contour allows gradual application while cream contour can create a softer skin-like finish. Choose the formula that suits your skin type and makeup routine.
5. Can I use bronzer instead of contour?
Yes a matte bronzer can sometimes replace a contour product if the shade creates a believable shadow on your complexion. Very warm or orange bronzers may be less suitable for cool-toned contouring.
6. How can I make my cheekbones look more defined naturally?
Apply subtle contour beneath the outer cheekbones blend toward the temples and add a little highlighter above the cheekbones. Avoid heavy product application for a softer finish.
7. Should I contour before or after foundation?
Cheekbone contour is commonly applied after foundation. Cream contour should generally go before setting powder while powder contour works well over a lightly set base.
8. How do I fix contour that looks too dark?
Gently blend the edges with a clean brush or makeup sponge. If necessary tap a small amount of your foundation over the area to reduce the intensity.
9. Can I contour my cheekbones every day?
Yes. Cheekbone contour can be part of an everyday makeup routine. Use lightweight products remove your makeup thoroughly and adjust the intensity according to your preferences.
10. Do I need highlighter when contouring my cheekbones?
No. Highlighter is optional. It can enhance the contrast between light and shadow, but you can still achieve beautiful cheekbone definition using contour alone.
Also Visit : Whispering Petals Reed Diffuser